Mazda Entertainment System - Bus Protocol
The message bus on Mazda head units use a simple communication protocol. The bus idles at 5V and is pulled down to 0V to send data pulses. Logical ones and zeros are defined by how long the bus is pulled down, see Timing for details. The protocol uses nibbles instead of bytes; most messages don't line up to a byte boundary (for instance, the shortest message is 12 bits).
Message Protocol
| Purpose | Length (nibbles) | Notes |
|---|---|---|
| Destination Module | 1 |
0x0 = Tape deck If the first bit of this nibble is 1, the command is destined for the base unit and the remaining 3 bits let the base unit know which module it came from. Therefore if the CD deck wants to send a message to the base unit this nibble will be 0x3 + 0x8 which is 0xB (or b1011). If the first bit is 0, then the message originates from the base unit. |
| Command | 1 | |
| Message data | 0..n | Message specific |
| Checksum | 1 |
XOR all the nibbles, add 1 and ignore any overflow. |
Messages Sent By The Base Unit
| Command | Data Length (nibbles) | Purpose | Data Format |
|---|---|---|---|
| 0x1 | 4 or 5 | Control | See Control Command Data Format |
| 0x8 | 0 | Anybody home? | No data |
| 0x9 | 0 | Wake up | No data |
Control Command Data Format
| Subcommand | Purpose | Data Format | Details |
|---|---|---|---|
| 1 | Playback control | XX2 |
XX is:
|
| 0x3 | Seek to track | 0KK1 | KK is the (BCD encoded) track to seek to |
| 0x4 | Set configuration data (CD Deck) | RR00 | RR is:
|
| 0x4 | Set configuration data (Tape Deck) | RR0 | RR is:
|
Messages Sent by the CD Deck
| Command | Data Length (nibbles) | Purpose | Data Format | Details |
|---|---|---|---|---|
| 0x8 | 1 | Wakeup notification | 0x1 | Sent after connecting power |
| 0x9 | 13 | Status | NPPQRSSTTWXYZ | N is:
PP is the current track number (BCD encoded) |
| 0xB | 9 | Hardware status | various |
0x910000001 - sent when the device enters playback mode |
| 0xC | 10 | Disk info | STTWWXXYYZ |
S is 0x0 for no CD, 0x1 for CD in drive |
| 0xD | 15 | Unknown |
0x000000000000000 |
This may have something to do with whether or not a CD is present. The first format (0x000...) only appears when there is no CD in the drive and the second format (0x100...) only appears when there is a CD in the drive. |
Messages Sent by the Tape Deck
| Command | Data Length (nibbles) | Purpose | Data Format | Details |
|---|---|---|---|---|
| 0x8 | 1 | Wakeup notification | 0x1 | Sent after the base unit sends the first "Wake Up" command |
| 0x9 | 2 | Status | NP | N is:
P is 0x1 when the tape deck in use, 0xC for all other status messages (like on startup) |
| 0xB | 6 | Detailed status | various |
0x90X00C - sent during initialization, X is:
0xB0400C - sent when a tape is inserted For any of these commands, when the Dolby noise reduction mode is on, the 4th nibble will be 0x1. For example: 0x904001 indicates normal playback, but with dolby noise reduction on it will be 0x904101. |
Timing
The radio seems to be very forgiving when it comes to the duration of various signals. The CD player in particular is very inconsistent; in the same nibble it'll send a logical zero which lasts 0.4ms and then another that lasts 0.55ms, the radio doesn't seem to care.
| Operation | Duration (milliseconds) |
|---|---|
| Logical 0 | 0.4 - 0.6 |
| Logical 1 | 1.7 |
| Wait after sending logical 0 | 2.4 |
| Wait after sending logical 1 | 1.2 |
| Wait between nibbles | 0 - 5 |
| Wait between commands | 10 - 50 |
Timing Diagrams
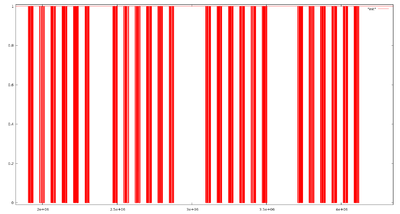
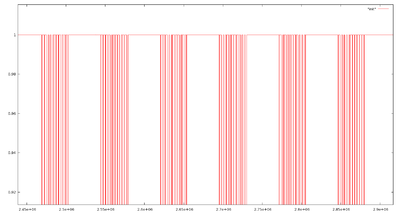
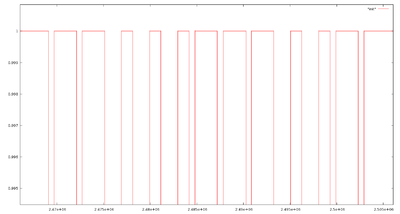
These diagrams are to give an idea of what timing is like on the bus. This particular diagram is of the initialization sequence (without the CD player). The x axis is in microseconds (10^-6 seconds).


