Replacing The Playstation 2 (slim)'s Laser
My PS2 Two (slim, SCPH-70011) stopped working while playing socom 2 for a good amount of time, so I called Sony and since it was out of warranty (90 days, wtf kind of warranty is that?) they wanted to charge me $95 to get it fixed plus shipping. That's just about the price of a new PS2!! So, I figured I'd fix it myself, only the laser needed to be replaced ^_^. I found the part I needed on ebay. In fact, not only did I order the laser, I ordered the whole freaking laser assembly for $55!!! So lets begin... (For all you out there that might not be sure if your laser is truly dead click here to see how you can clean the laser.)
Tools
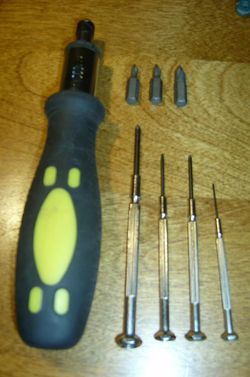
You don't need any special tools to open up a playstation, in fact you could do it all with a #1 philip's head screwdriver. If you want to be fancy, get an assortment of small eyeglass repair screwdrivers, but you probably won't need them.
Taking The Cover Off
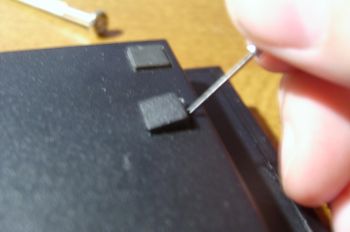
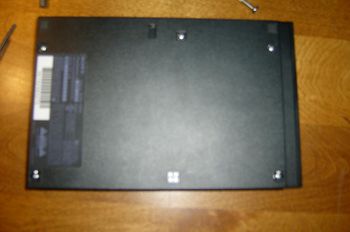
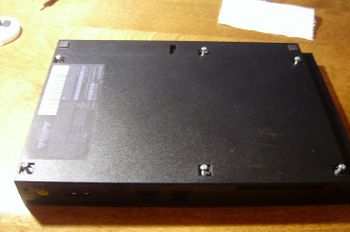
- Start off by removing the little rubber and plastic feet from the bottom to expose the 6 screws:
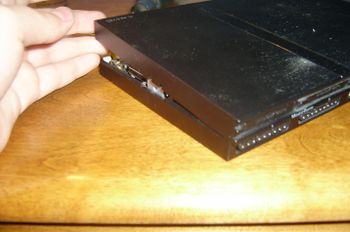
- Pull apart the bottom of the ps2 (the side with the little hole for the vertical stand):
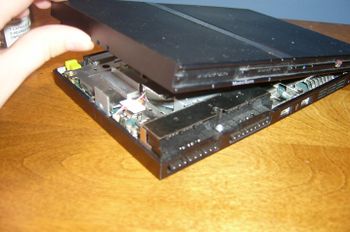
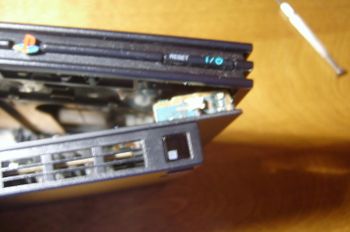
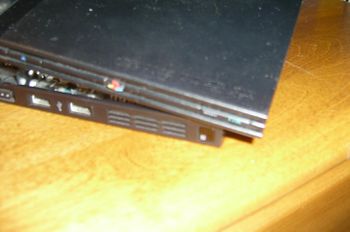
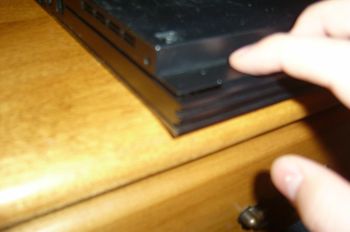
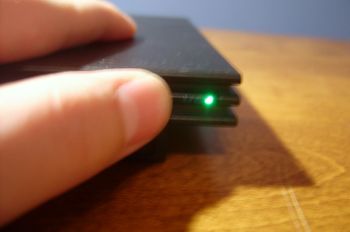
- Be Careful! Start pulling apart the two halves where the power switch is. If you can see the little white push-button-power switch (tact-switch if you're fancy, btw it's in the picture. It's a little blurry.) then you can just pull hard and it will come apart. If You break off the switch don't worry it's easy to solder back on, go here for instructions.
Taking Out The Laser Assembly
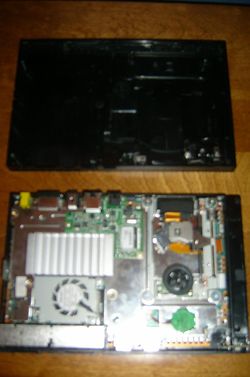
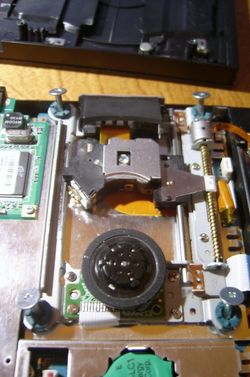
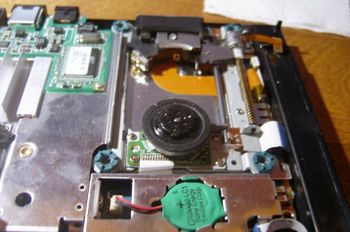
- I truly hope you can find it :P , if not here it is:
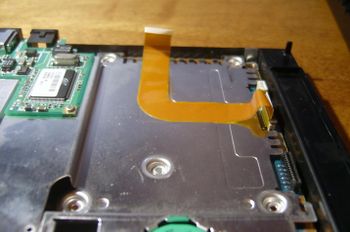
- Locate the two motors' ribbon cables (one's white, the other's small and on the right) and unplug them. Don't unplug the middle ribbon cable because there's no need to, you'll end up having to re-align it later so just leave it.
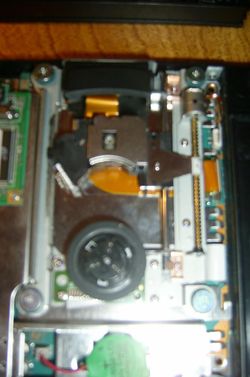
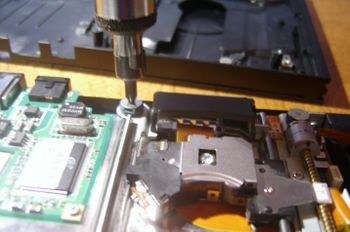
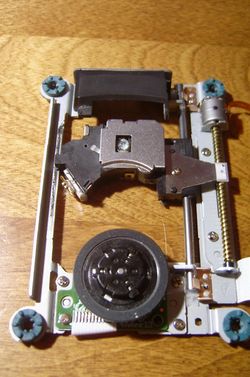
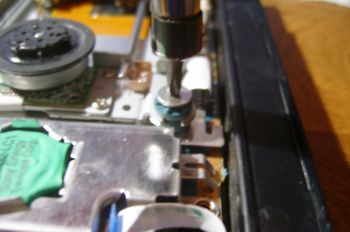
- Now unscrew the 4 big screws holding the laser assembly down:
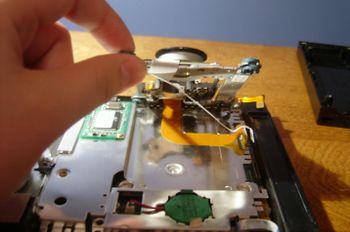
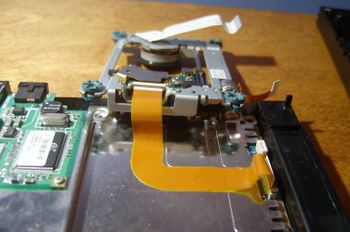
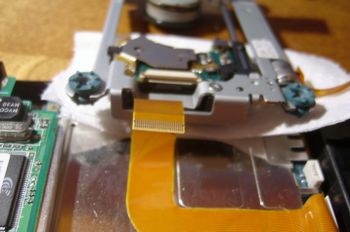
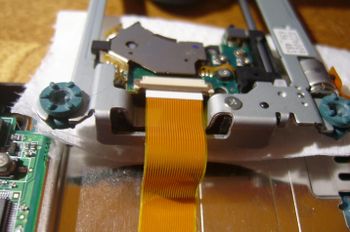
- Lift the assembly from the side facing you (see the pictures..) and fold it back to expose the laser's ribbon cable. It's easier if you move the laser back away from the motor so when you flip it backwards there isn't too much tension on the cable.
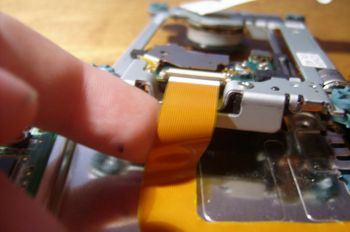
- Now gently pull out the cable with your finger(s) and finally remove the assembly:
Removing The Actual Laser
- If you bought the whole assembly like me you don't need this but if you only bought the laser this is how to change it out. (click here to skip this)
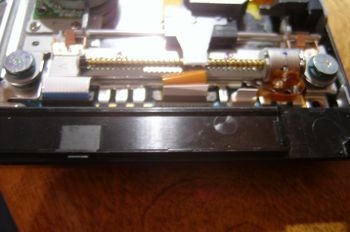
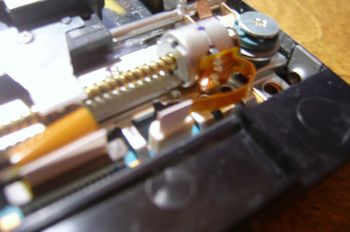
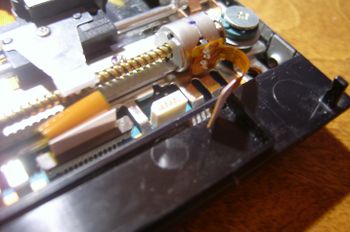
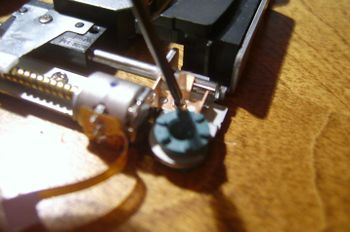
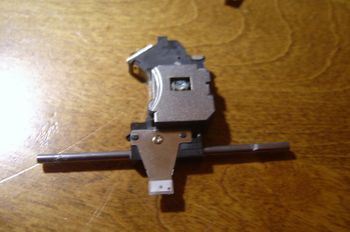
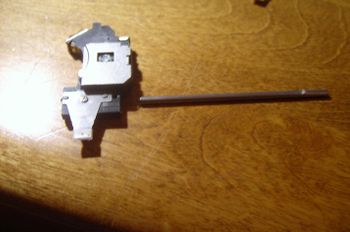
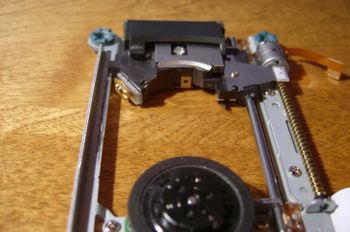
- Remove the two screws that hold the metal bar in place. Be careful those screws are really tiny! Then just slide off the old laser off and slide the new one on. If you want apply a bit (I mean a *bit*, not much) of white lithium grease to the metal bar and the track across from it.
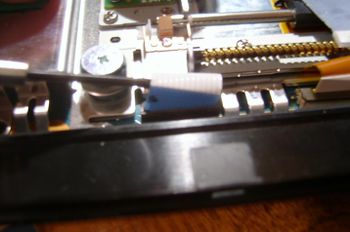
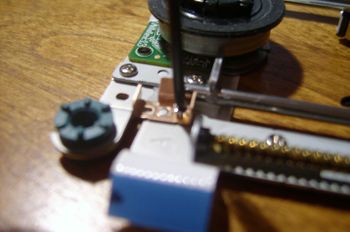
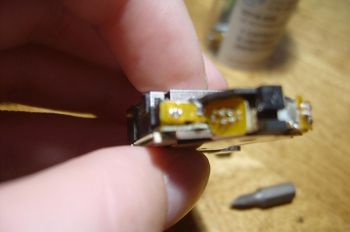
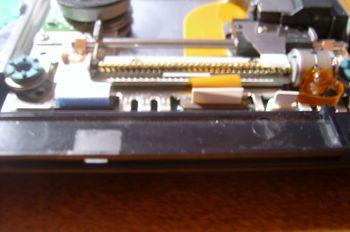
- If you bought a brand new laser you may (I'm not sure, I heard this somewhere) have to desolder 3 pads that are joined together on the side of the laser. I'm talking about the ones on the left side of the picture. (It's blurry, I know, sue me!) If they are joined together by a blob of solder, desolder it before you install it. And most importantly, Don't Touch the bloody LENS!
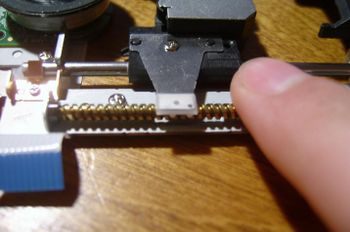
- When it's installed, make sure it slides well by rubbing the worm gear with your finger, if it moves easily you've done a good job.
Installing The New Laser Assembly
- Move the laser all the way back and get something soft to rest the laser assembly on. I used toilet paper, 3 ply to be safe ;). Put the toilet paper on the edge of your playstation and rest the laser assembly on it. Re-attach the ribbon cable and flip it back over.
- Attach the two motor's ribbon cables back. Then slide the laser up and down it's track to make sure it doesn't get caught on anything.
- Put back the 4 screws and don't over tighten them, make sure that they're in all the way though..
Putting The PS2 Back Together
- This one's a bit trickier to get back together than the old one's but it's still easy. Put the top part of the case over the bottom right corner first (over the power switch):
- Then do the bottom left, and the back.
- Flip it over and push down on the little lip till you hear a click, and you're done!
- Lastly put the screws in and the little feet.
Final Precautions
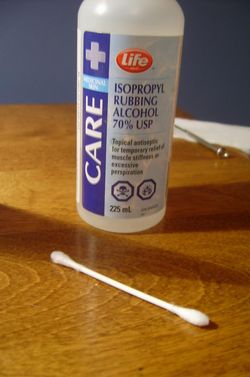
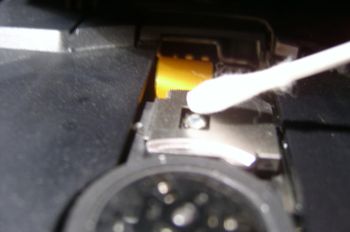
- Now that your done you might want to clean the laser's lens in-case you touched it. Use regular rubbing alcohol and a cotton swab. Rub back and forth and make sure the cotton swab doesn't leave any fibers left behind on the lens.
Soldering The Power Switch Back On
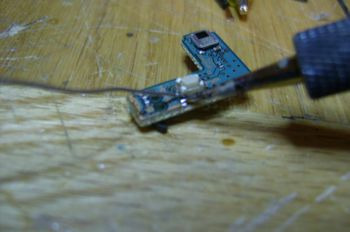
- If you're like me, you ripped your console open too fast and you broke the power switch off the little pcb. No worries it can still be soldered back on.
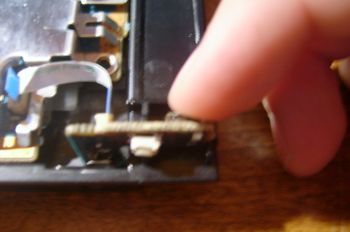
- Using a medium heat soldering iron tin the pads on the pcb and then put the switch on top of the the 4 pads. Go around the switch melting the solder on each pad and pressing down on the switch till all 4 are soldered.
- Test It...
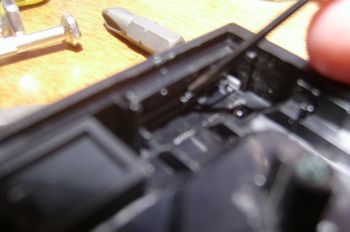
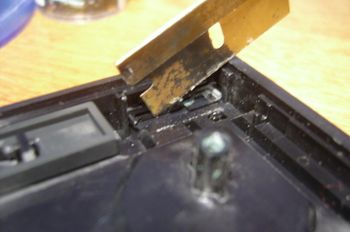
- A problem I had was that I couldn't get the switch flat onto the pcb so when I put it back together the switch wouldn't work. To fix that I cut out the little notch on the inside of the top half of the console. In the first picture I'm pointing at the notch (right behind the power button) and in the second I'm cutting it off with a razor blade (the rustier, the better!).
- Now the cover should fit like a glove and the switch should feel like it was brand new!
Tips
- If you want to have better access to the laser when cleaning/servicing it then plug in the PS2, press the power button (with the lid closed). Wait 3 seconds then unplug it, when you open the lid the laser will as close as it can be towards you.
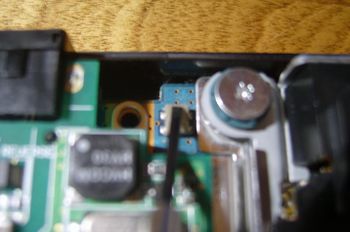
- If you have the playstation apart and you wish to test the motors and make sure that the laser doesn't get caught on anything when its moving there are 2 switches you must hold down to fool the playstation into thinking that the lid is closed. The most obvious is the one above the power switch and then other is in the back near one of the laser assembly's screws:
Last Words
Don't let Sony take your money when you can do it yourself, they are just making money off your ignorance, the whole repair industry is based on that idea. If you try you might have fun or learn a thing or two (and save money).
Best of luck,
-->nikosapi
